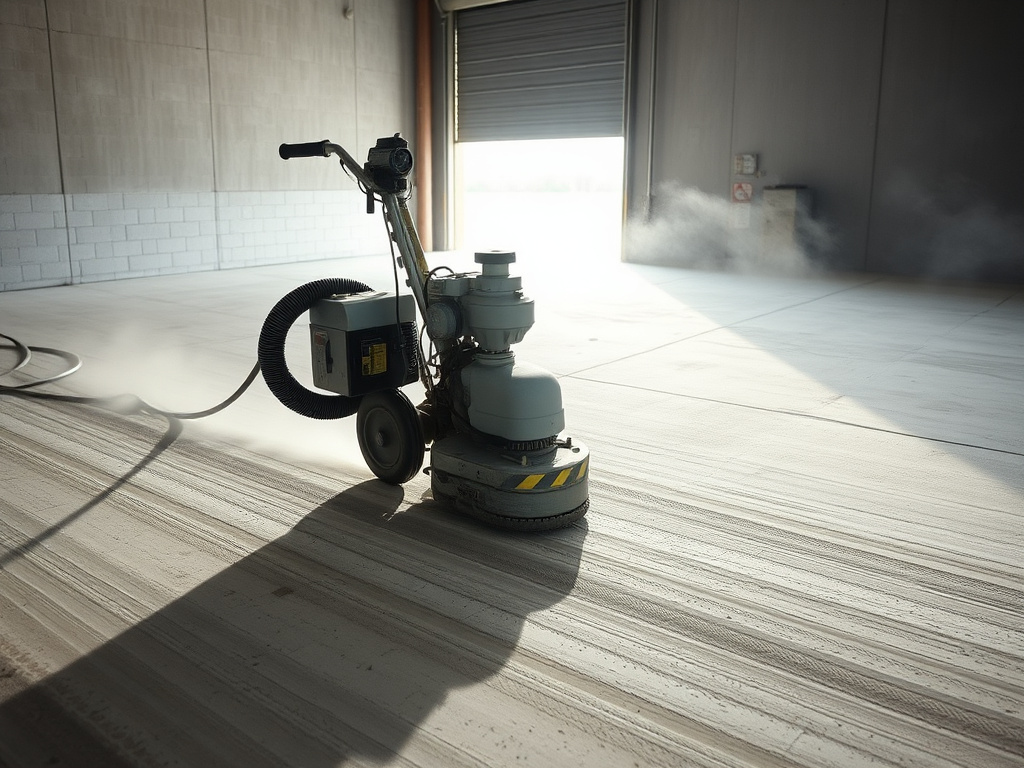
When we tear out a failed garage floor, the first thing we look at is not the coating. It is the back of the coating. Flip a peeled chip over and it tells you exactly what went wrong. Bare grey concrete on the slab and a smooth, glassy underside on the chip means the film never mechanically keyed into anything — a profile failure. A thin skin of coating still stuck to the slab means the film split within itself — a materials or recoat-window failure. Chalky white powder on both faces means moisture pushed through and deposited salts at the interface. Three different diagnoses, three different fixes, and all three are common in Phoenix, Mesa and Tucson.
Failure 1: acid etching instead of grinding
This is the leading cause of coating failure in Arizona and it is not close. Acid etching uses muriatic or citric acid to dissolve surface cement paste and expose a little sand. On a soft, porous, broom-finished slab it produces something. On the hard, power-troweled slabs that are standard in Valley residential construction, it produces almost nothing — the surface is too dense for the acid to bite consistently.
Worse, etching leaves behind reaction salts and weakened laitance unless it is neutralized and rinsed perfectly, which on a residential job it essentially never is. The coating then bonds to a crumbly layer that is itself barely attached to the slab underneath. It looks perfect for a year. Then one hot tire lifts a dinner-plate patch, and the concrete under it is clean and grey.
Failure 2: no measurable CSP profile
The International Concrete Repair Institute publishes a surface profile scale, CSP 1 through CSP 9, with physical replica plates so a profile can be verified rather than guessed. Thin-film hand-applied systems like a polyaspartic want CSP 2 to 3 — roughly the texture of 60- to 80-grit sandpaper. High-build sprayed polyurea for industrial work wants CSP 3 to 4, generally produced by shot blasting.
Profile is not decoration. It multiplies the effective bonding surface area and gives the resin mechanical anchorage in addition to whatever chemical adhesion exists. A coating on a smooth slab is relying on chemistry alone, and chemistry alone loses to a shrinking tire. Ask any bidder what CSP they are targeting and how they will verify it. A specific answer tells you a great deal; a vague one tells you more. Our approach to profiling is laid out on the concrete preparation and repair page.
Failure 3: moisture vapor transmission
Concrete is a wick. Water in the soil beneath a slab moves upward through capillary action and evaporates at the surface. If you seal that surface with an impermeable film, the vapor pressure has nowhere to go and builds at the coating-to-concrete interface until it overcomes the bond and lifts the film in bubbles or broad sheets.
Arizona homeowners assume this is a wet-climate problem. It is not. Older Phoenix and Tucson slabs were frequently poured without an intact polyethylene vapor retarder. Irrigated landscaping, a leaking drip line, a pool, or a monsoon season that saturates the surrounding soil all drive vapor upward through those slabs continuously. We have pulled failed floors off garages in Gilbert where the only problem was a sprinkler head aimed at the foundation for six years.
The fix is not a stronger coating. It is testing — ASTM F1869 calcium chloride or ASTM F2170 in-situ relative humidity — followed by a vapor-suppression primer where the numbers call for it. Any bid that never mentions moisture is gambling with your slab, and moisture-related delamination is the exclusion that voids most warranties in this trade.
Failure 4: contamination the grinder cannot reach
Oil, transmission fluid and brake cleaner soak into concrete. Grinding removes the top layer, but a decade of drips at the parking position can penetrate a quarter inch or more, and as soon as the slab warms the contamination migrates back up to the surface. The coating over that spot never fully wets out, and you get a soft, fisheyed, poorly bonded patch precisely where the tires sit.
Proper decontamination means degreasing with an emulsifier, sometimes multiple cycles, and occasionally burning off heavily saturated areas before profiling. It also means keeping the freshly ground floor clean — grinding fines left in the profile are a bond breaker as effective as oil, which is why a HEPA vacuum pass is a required step and not a courtesy.
Failure 5: a thin, single-coat install
A great deal of what is sold as a coated garage floor in the Valley is one thin coat of epoxy with a scatter of flake, rolled out in two hours. Total dry film thickness might be a small fraction of a real system build. Thin films wear through at the tire path first, then at the walkway, then everywhere. Once the film is breached, water and dust get under it and the delamination front spreads outward from the wear-through.
A correctly built residential system is a base coat, a full flake broadcast to refusal, and a polyaspartic topcoat — three material layers producing a substantially higher total mil thickness. Ask for the number in mils, not the number of coats. The difference between systems is explained at length in the polyurea vs epoxy vs polyaspartic guide, and it shows up in the price for reasons covered in the Phoenix cost breakdown.
Failure 6: heat and UV attacking the wrong chemistry
The last failure mode is the one unique to this state. A garage slab in Phoenix can run 130 to 145°F in July with the door open. Epoxy has a glass transition temperature in that same band, so the film goes soft exactly when the hottest tires of the year arrive. Meanwhile, direct sun through an open door breaks down aromatic polymer backbones, turning a grey floor yellow-tan near the threshold and leaving the surface chalky and brittle.
No amount of prep saves the wrong material here. The fix is an elastomeric base with a genuinely aliphatic polyaspartic topcoat, which stays well above its glass transition across the whole summer band and has no aromatic ring for UV to attack. That is the same reasoning that governs our pool deck specifications and, inverted for freeze-thaw, our high-country work in Flagstaff and Prescott.
The six prep steps, in order
Every floor we install goes through the same sequence. Roughly sixty percent of the labor happens before a coating container is opened, and that is not a scheduling accident — it is where the fifteen-year floors come from.
Test First
Moisture test by ASTM F1869 or F2170, adhesion pull test on any existing coating, and a visual crack and spall map before quoting.
Decontaminate
Degrease and burn off oil-soaked areas at the parking position. Coating over absorbed oil guarantees a bond failure exactly where the tires sit.
Diamond Grind
Mechanical profile to a measured CSP 2–3, or shot blast to CSP 3–4 for high-build systems. Never acid etch.
Repair Flush
Chase and fill every crack, rebuild spalls and thresholds, then re-grind the repairs flush so the film build stays uniform.
Vacuum Clean
HEPA vacuum the profile so the base coat touches concrete, not a bed of grinding fines. Fines are a bond breaker.
06 · Prime To Spec
Vapor-suppression primer where testing calls for it, standard primer where it does not, applied inside the recoat window.